
When a deck stain fails prematurely — peeling, chipping, or fading unevenly — it's almost never the stain's fault. Independent testing and field experience consistently show that the overwhelming majority of early stain failures trace back to inadequate surface preparation before the stain was ever applied.
Not all wood is in the same condition, and not all prep is the same. The right approach depends on whether you're dealing with new lumber, weathered and grayed wood, or surfaces that already have an existing coating. Here's a breakdown of each scenario.
80% of stain failures trace back to inadequate preparation — not product defects. The prep work determines whether your stain holds up for 2 years or 5.
Water-Based vs. Oil-Based: Why It Changes Your Prep
Oil-Based Penetrating Stains
- Penetrates into wood to condition & protect from within
- More forgiving of prep variations
- Conditions wood while protecting it
- No surface film to peel or chip
- Preferred for long-term low-maintenance results
Water-Based / Solid Stains
- Contains water, pigments & acrylic/latex binders
- Forms a protective film on top of wood
- Requires meticulous prep for proper bonding
- More vulnerable to prep-related failures
- Will peel if surface isn't perfectly prepared
Water-based stains work like a bandage — they bond to the surface. If that bond isn't perfect from day one, they peel away. That's why prep is non-negotiable for film-forming products.
The Three Prep Scenarios
New Wood
New lumber often seems ready to stain. It's clean, it's bright, it looks great. But new pine boards frequently have a hidden problem: mill glaze. When boards pass through a planer at the mill, the friction heats the sap and creates a nearly invisible sealed layer on the surface. Mill glaze prevents oil from penetrating properly and can cause premature stain failure even on brand-new wood.
The simple water test reveals mill glaze: apply soapy water (add a small amount of dish soap to break surface tension) to several spots on the wood. If water beads up instead of absorbing, mill glaze is present.
- If water absorbs readily: you can stain directly
- If water beads: a light chemical wash or 80-grit sanding pass removes the glaze
The Soapy Water Test
Use soapy water rather than plain water — plain water can bead on tight-grained new wood even without mill glaze, causing false positives. The soap breaks surface tension and gives you an accurate reading of actual absorption.
Weathered Wood
Wood that's been exposed to the elements for more than a season develops gray surface fibers — this is the UV-degraded, dead wood at the surface. It needs to be removed before staining, not just cleaned. Staining over weathered gray fibers means the stain is bonding to dead, loose material that will separate from the healthy wood underneath.
The professional weathered wood prep process:
- Chemical wash with sodium metasilicate at appropriate concentration (based on weathering severity)
- Pressure wash to lift and remove gray fibers — you should see natural wood color emerge
- Wood brightener (oxalic acid) to neutralize alkalinity and open pores for stain
- Allow to dry fully and verify moisture levels before staining
- 80-grit sanding pass recommended to smooth raised grain and maximize penetration
Previously Stained Wood (Existing Coating)
Wood with an existing stain requires identifying what type of product is already on it — oil-based or water-based. The approach differs significantly.
Previously oil-based: Wash thoroughly, allow to dry, and a new penetrating oil coat can be applied. Oil-based products are relatively compatible from coat to coat.
Previously water-based/solid stain: This is the most demanding scenario. If the existing coating is peeling or failing, you cannot simply coat over it. The surface needs to be sanded to create proper bonding texture. New water-based stain bonds to bare wood significantly better than to old coating. This prep is intensive but necessary for lasting results.
- Wash thoroughly to remove dirt and organic growth
- Sand to create texture for adhesion and remove loose material
- New coating bonds better to wood than to old stain — aim to expose as much clean wood as possible
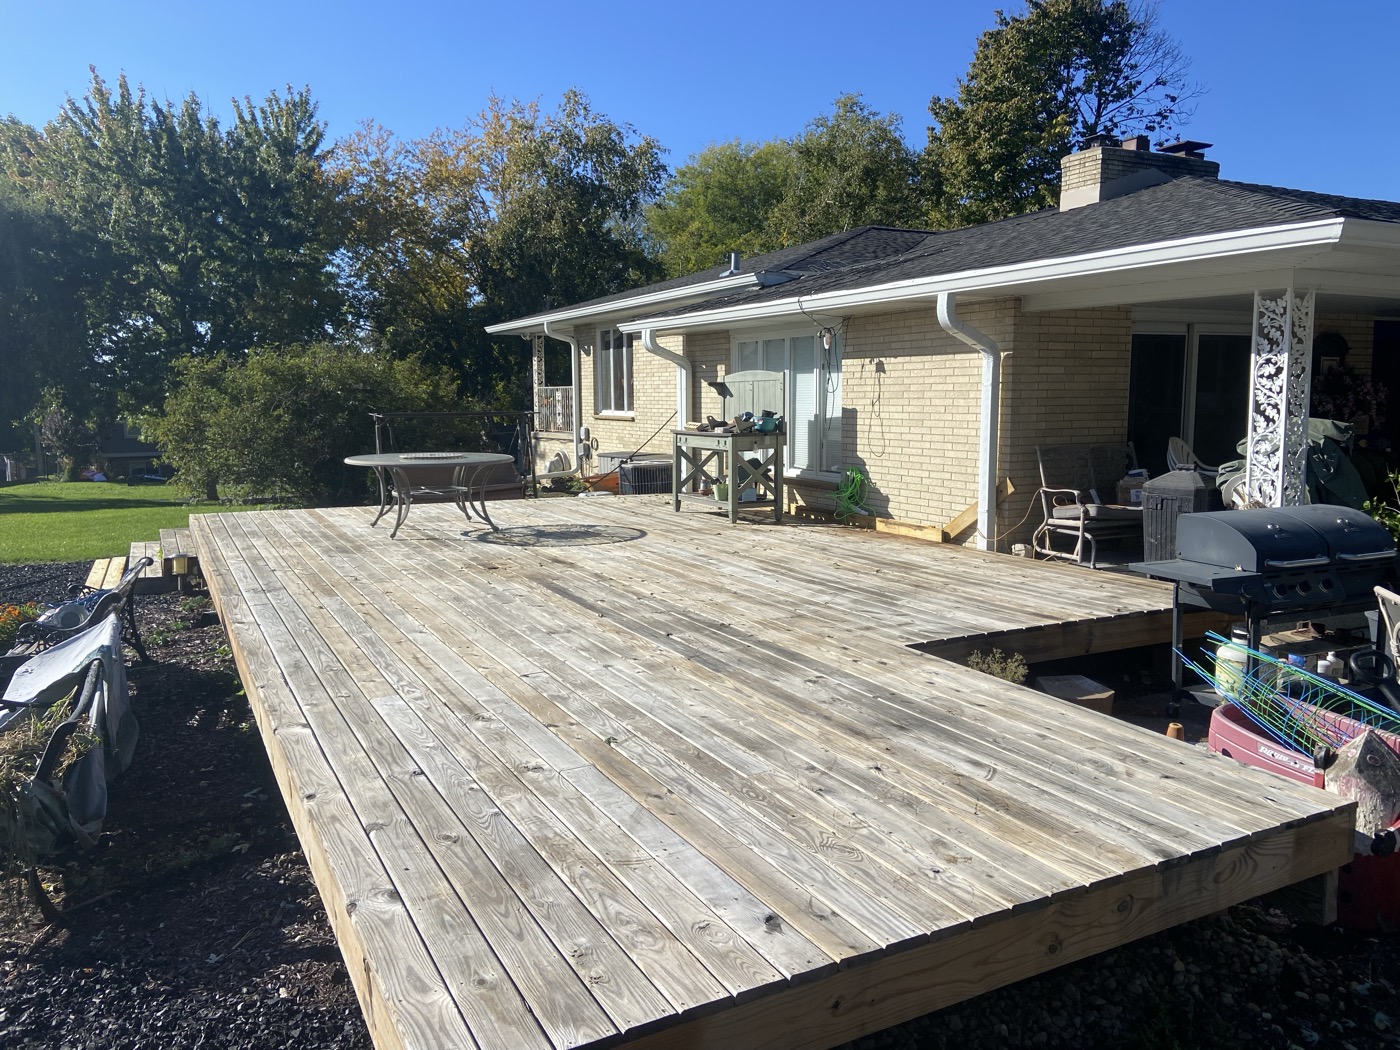 Before
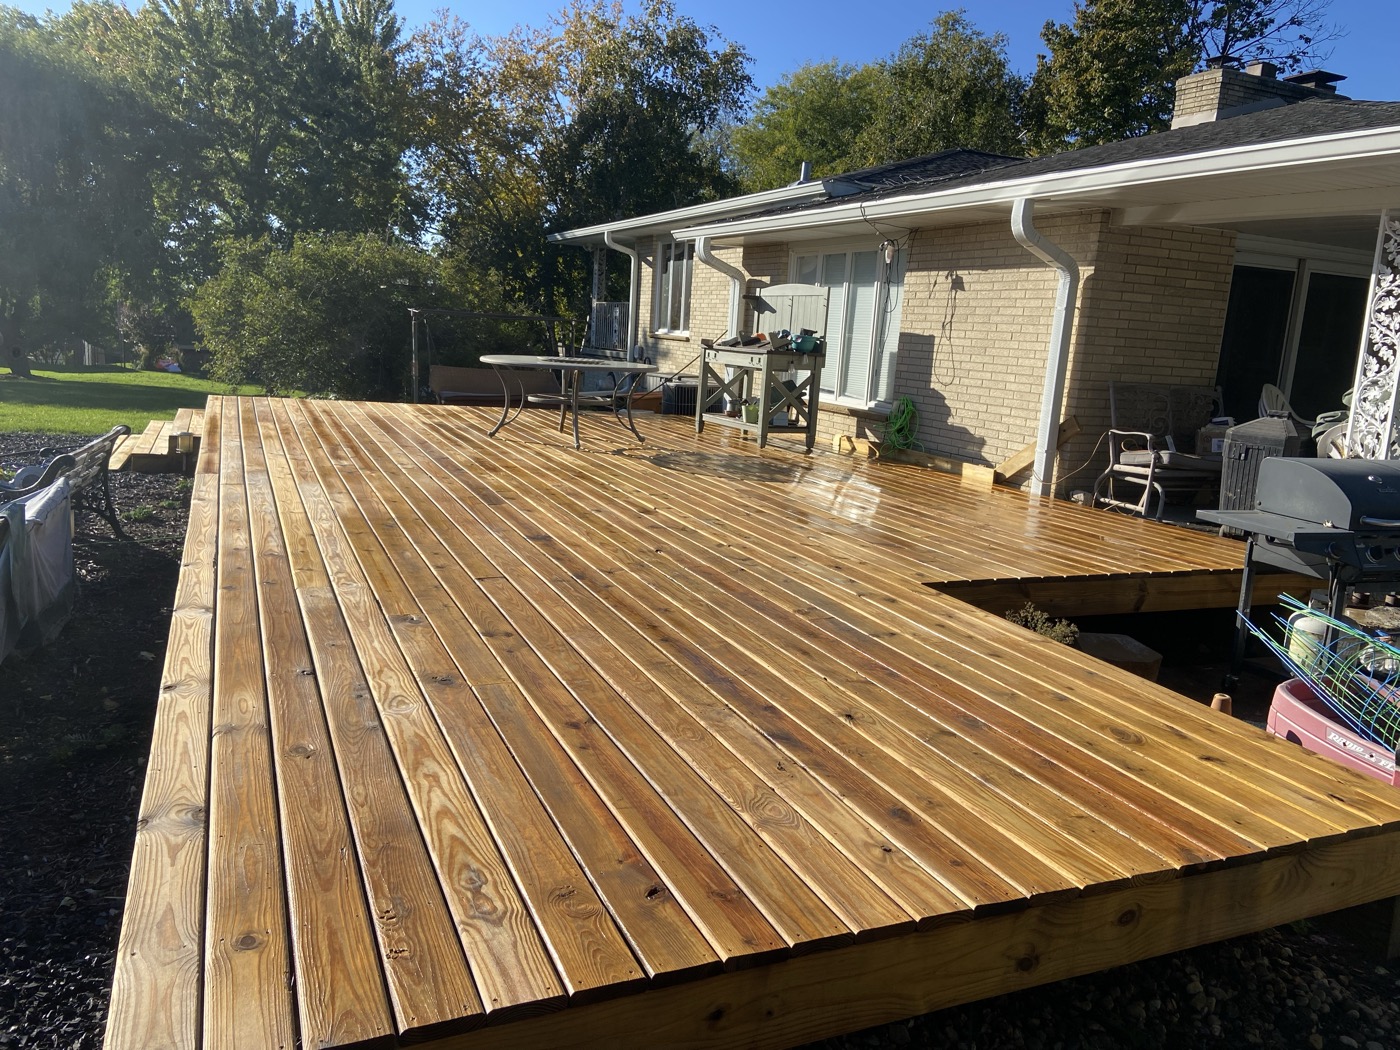 After
After
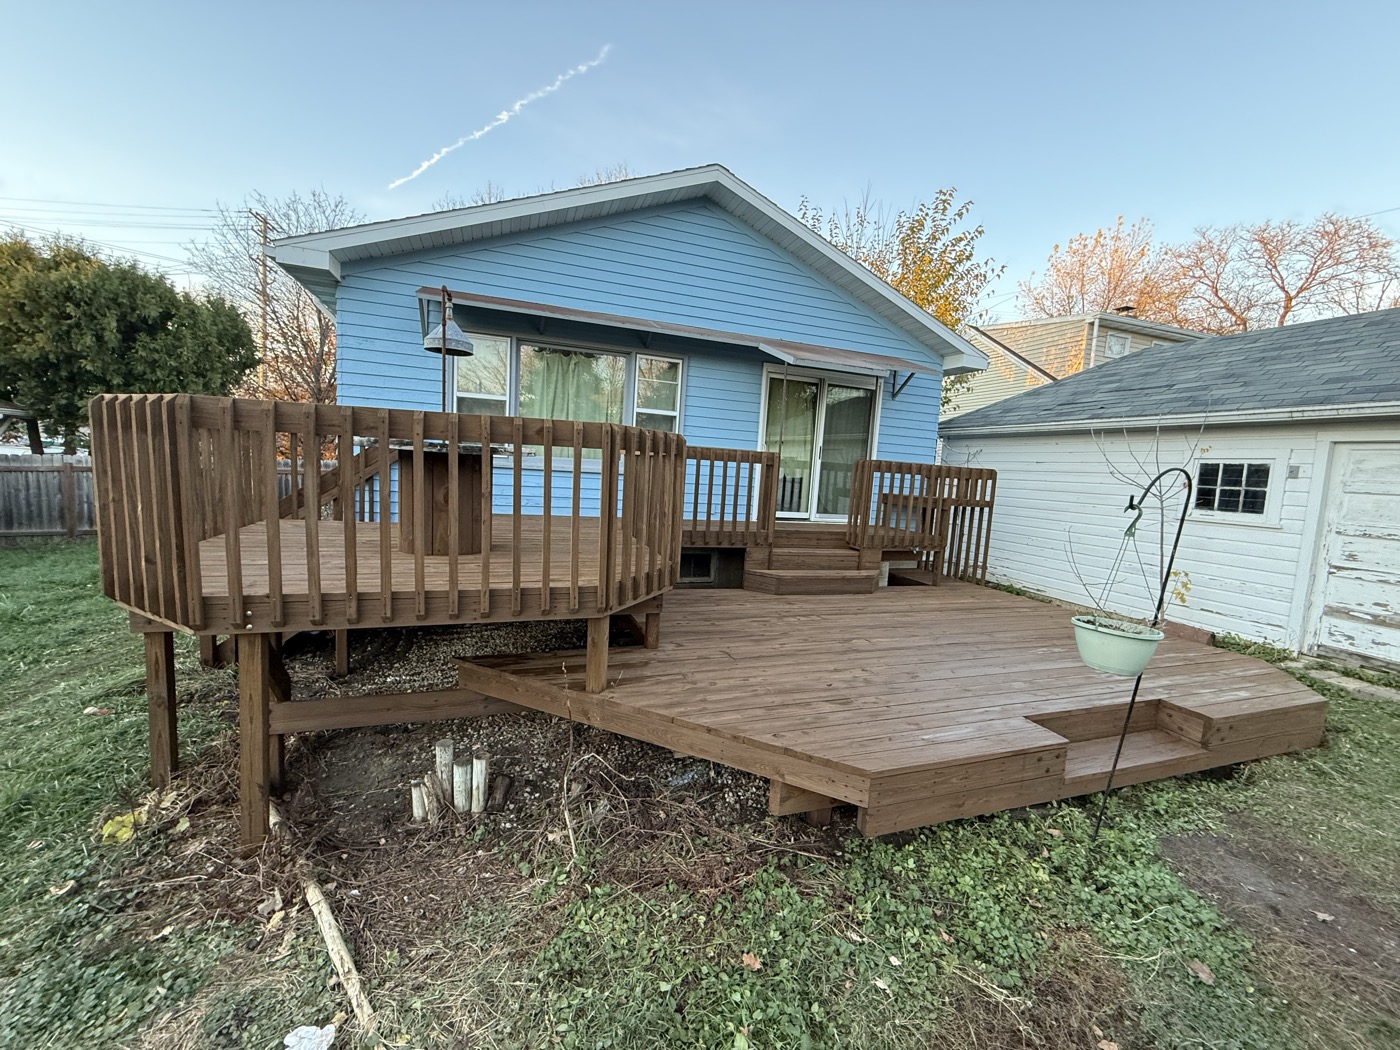
Prep Makes the Difference
The same stain applied to well-prepped wood versus skipped prep looks and performs completely differently. Open wood grain accepts stain deeper, produces richer color, and holds up far longer through seasonal changes.
Common Failure Factors
Skipping the Sanding Step
80-grit sanding opens wood grain after washing, removes raised fibers, and creates the surface texture stain needs to penetrate deeply. On weathered wood especially, skipping this step noticeably reduces how long the finish holds.
Skipping the Wood Brightener
After alkaline cleaning, the wood's pH is elevated. Staining over high-pH wood interferes with adhesion. The oxalic acid brightener step isn't optional — it's what sets the wood up to accept and retain the stain properly.
Staining Over Wet Wood
Wood that's still above 15% moisture can't be properly penetrated by oil-based stain. The result is a surface application with poor bond — exactly what leads to early failure.
Wrong Product for the Substrate
Applying film-forming solid stain to an existing oil-based coating, or layering water-based product over failing water-based stain without stripping, creates compatibility problems that appear as peeling regardless of how well the stain itself was applied.
The Payoff of Getting Prep Right
A properly prepared deck — cleaned, brightened, dried, and sanded — accepts stain at a fundamentally different level than one that was simply pressure washed and coated. The stain penetrates deeper, bonds more completely, and lasts significantly longer. The work that's invisible to a homeowner standing on a freshly stained deck is almost entirely what determines whether that finish is still looking good in year four.
Every hour invested in proper preparation saves multiple hours in callbacks, repairs, and premature refinishing. That's true whether you're doing the work yourself or hiring it out.
We Do the Prep Right
Every project starts with a full assessment of the wood condition. We clean, brighten, sand when needed, verify moisture levels, then stain. Serving Milwaukee and all Milwaukee Metro suburbs.
Get a Free Estimate