
Wood that's spent a few seasons exposed to Wisconsin weather gets gray, rough, and lifeless-looking. But that weathered appearance is usually just the surface — the wood fibers underneath are often still healthy. The right cleaning process strips away the dead gray cells, mold, tannins, and grime, revealing bright, stainable wood underneath.
Here's the complete process we use on weathered decks and fences before staining.
Step 1: Assess the Weathering Level
Not all weathered wood is the same. Before reaching for a cleaner, look at what you're dealing with:
- Light weathering: Slight silvering, wood still feels relatively smooth. Minimal fiber damage.
- Moderate weathering: Noticeable gray color throughout. Some surface fiber raising and checking in the grain.
- Heavy weathering: Deep gray to black coloring. Significant cracking, splintering, possible black mold in the grain.
The weathering level determines what chemical cleaner strength you need — and whether any additional treatments are required.
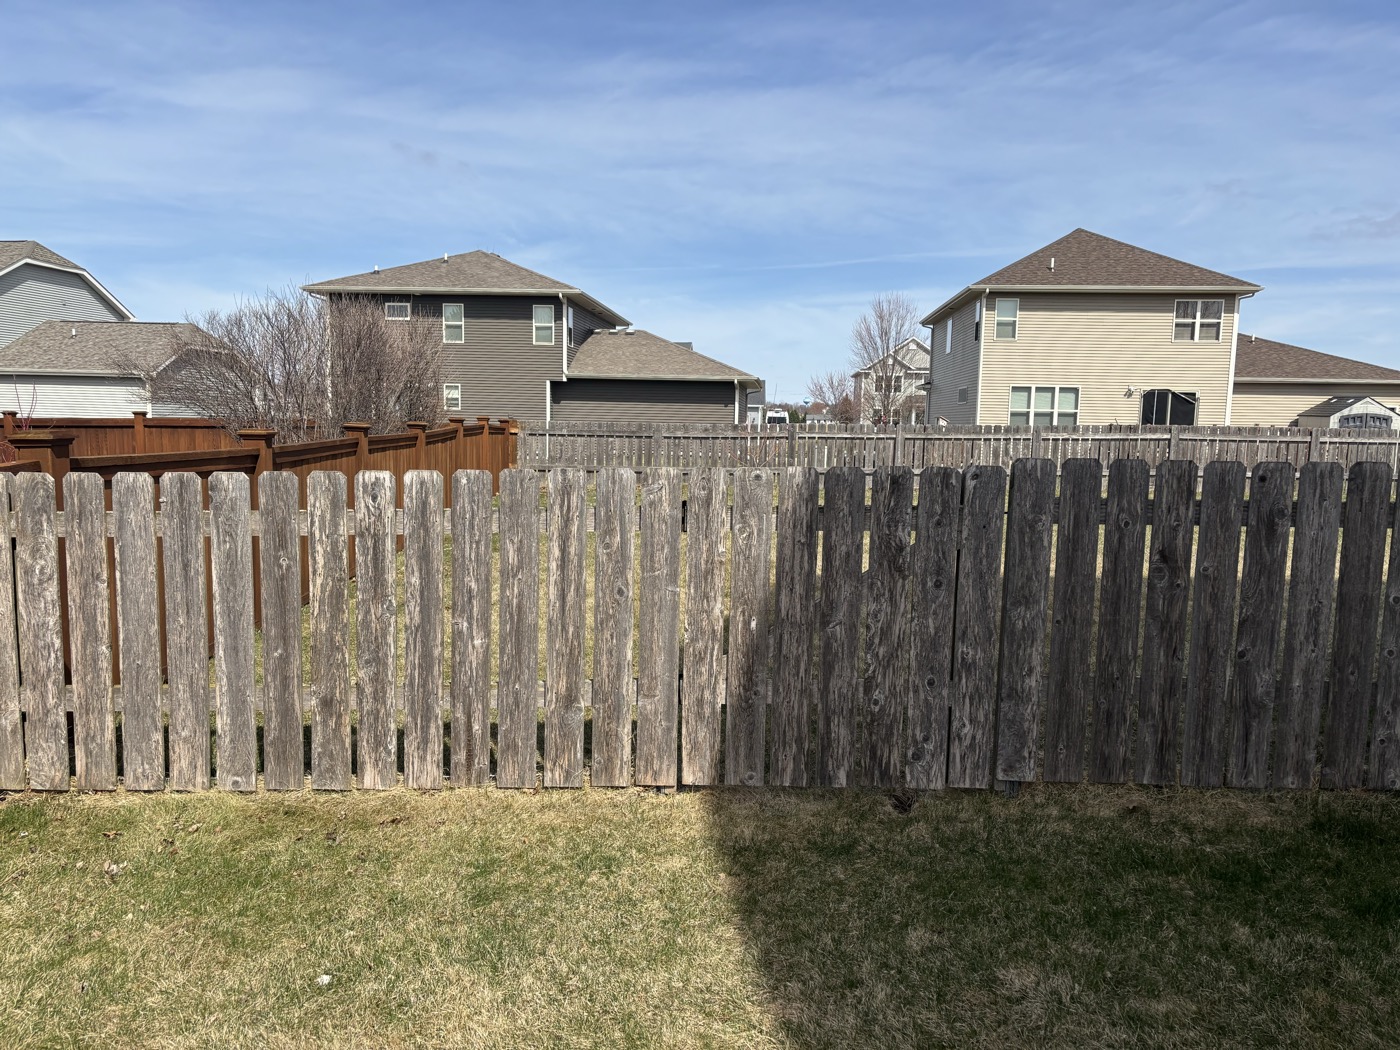 Before
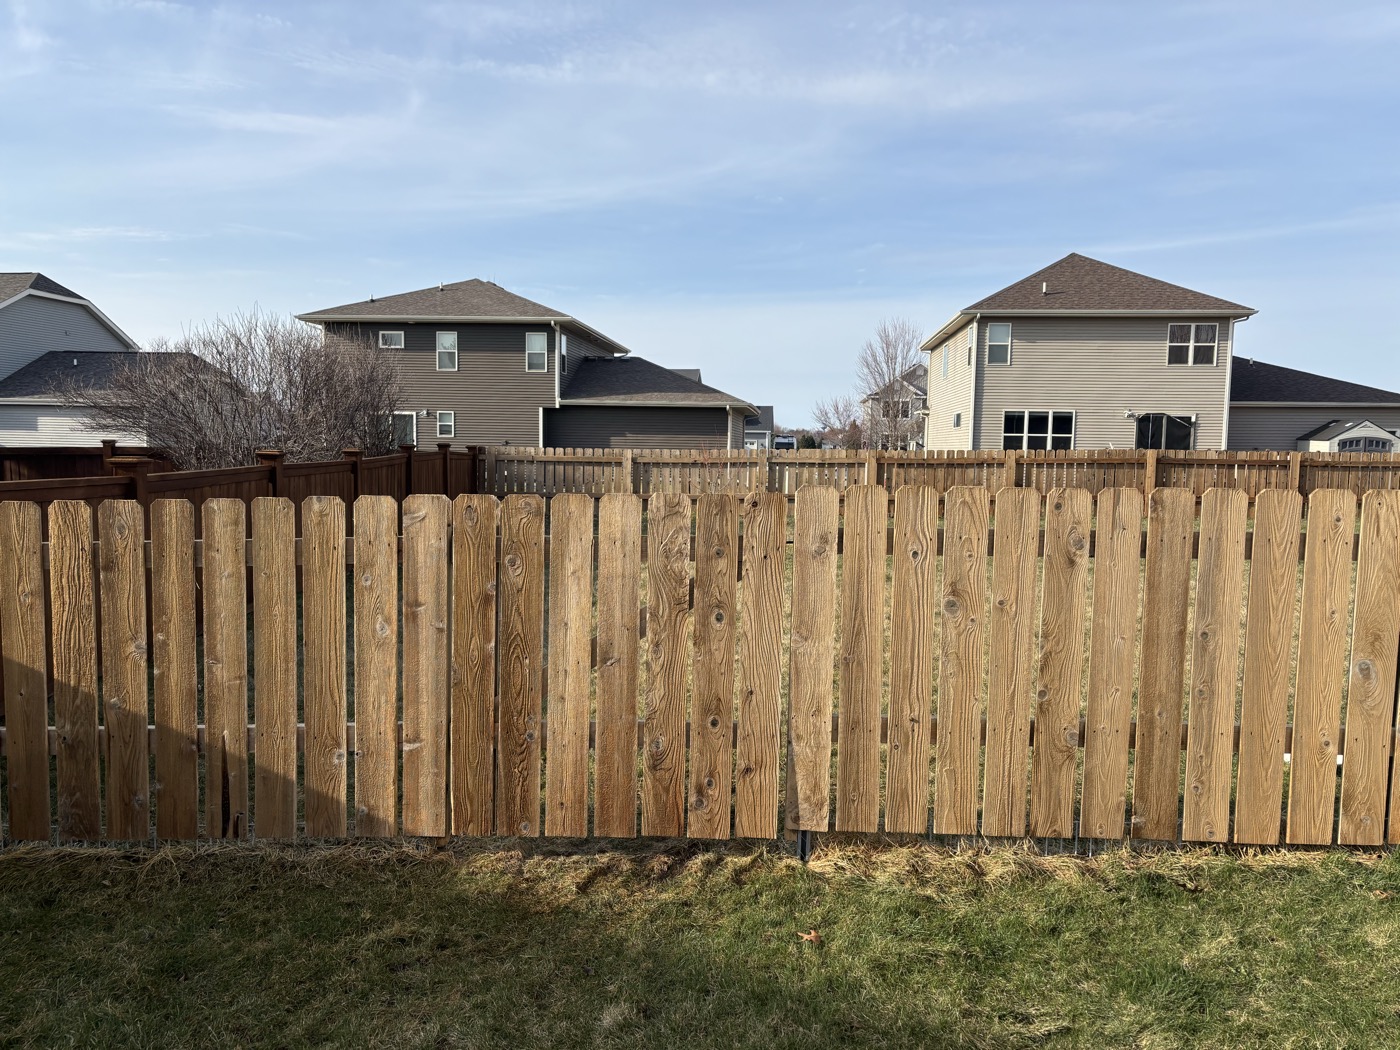 After
After
Step 2: The Secret Weapon — Sodium Metasilicate
Most homeowners reach for bleach-based deck cleaners. Professionals use sodium metasilicate. The difference matters: bleach can lighten surface staining but doesn't truly clean wood fibers or open the grain for stain penetration. Sodium metasilicate is an alkaline cleaner that dissolves grease, organics, and surface contaminants while actively opening wood pores — which is exactly what you need before staining.
Mix it at the right strength based on weathering severity:
- Light weathering: 8 oz per gallon of water
- Moderate weathering: 12 oz per gallon
- Heavy weathering: 16 oz per gallon (full strength)
Sodium metasilicate is the professional standard for wood restoration. It cleans more effectively than consumer deck wash products and properly prepares the surface for stain penetration.
The Complete Restoration Process
Pre-Wet the Entire Surface
Wet the deck thoroughly with plain water before applying any cleaner. This prevents the wood from absorbing cleaner too aggressively and protects surrounding plants and landscaping from chemical runoff.
Apply the Cleaning Solution
Apply your sodium metasilicate mixture evenly across the surface. Work in sections so the solution doesn't dry before you can rinse it. Keep any nearby stone, concrete, or glass surfaces rinsed during this process.
Pressure Wash
Rinse thoroughly with a pressure washer, maintaining enough distance to remove gray fibers without scarring the wood. The goal is restoration — you want to lift dead surface wood, not gouge the boards. You should see the natural wood color beginning to emerge.
Apply Wood Brightener (Oxalic Acid)
After cleaning with an alkaline solution, the wood's pH is elevated. Applying an oxalic acid wood brightener neutralizes the pH, removes tannin stains, and opens the wood pores in optimal condition for stain absorption. This step is often skipped by DIYers — it's one of the biggest differentiators in finish quality.
Final Rinse and Dry
Rinse thoroughly and allow the wood to dry completely before staining. Most decks need 24–48 hours of drying time, depending on sun exposure and humidity. Test moisture levels before applying stain.
Important: Never let oxalic acid (wood brightener) dry on stone, concrete, or glass surfaces — it can cause permanent etching or damage. Keep these surfaces continuously rinsed during application.
What You'll Need
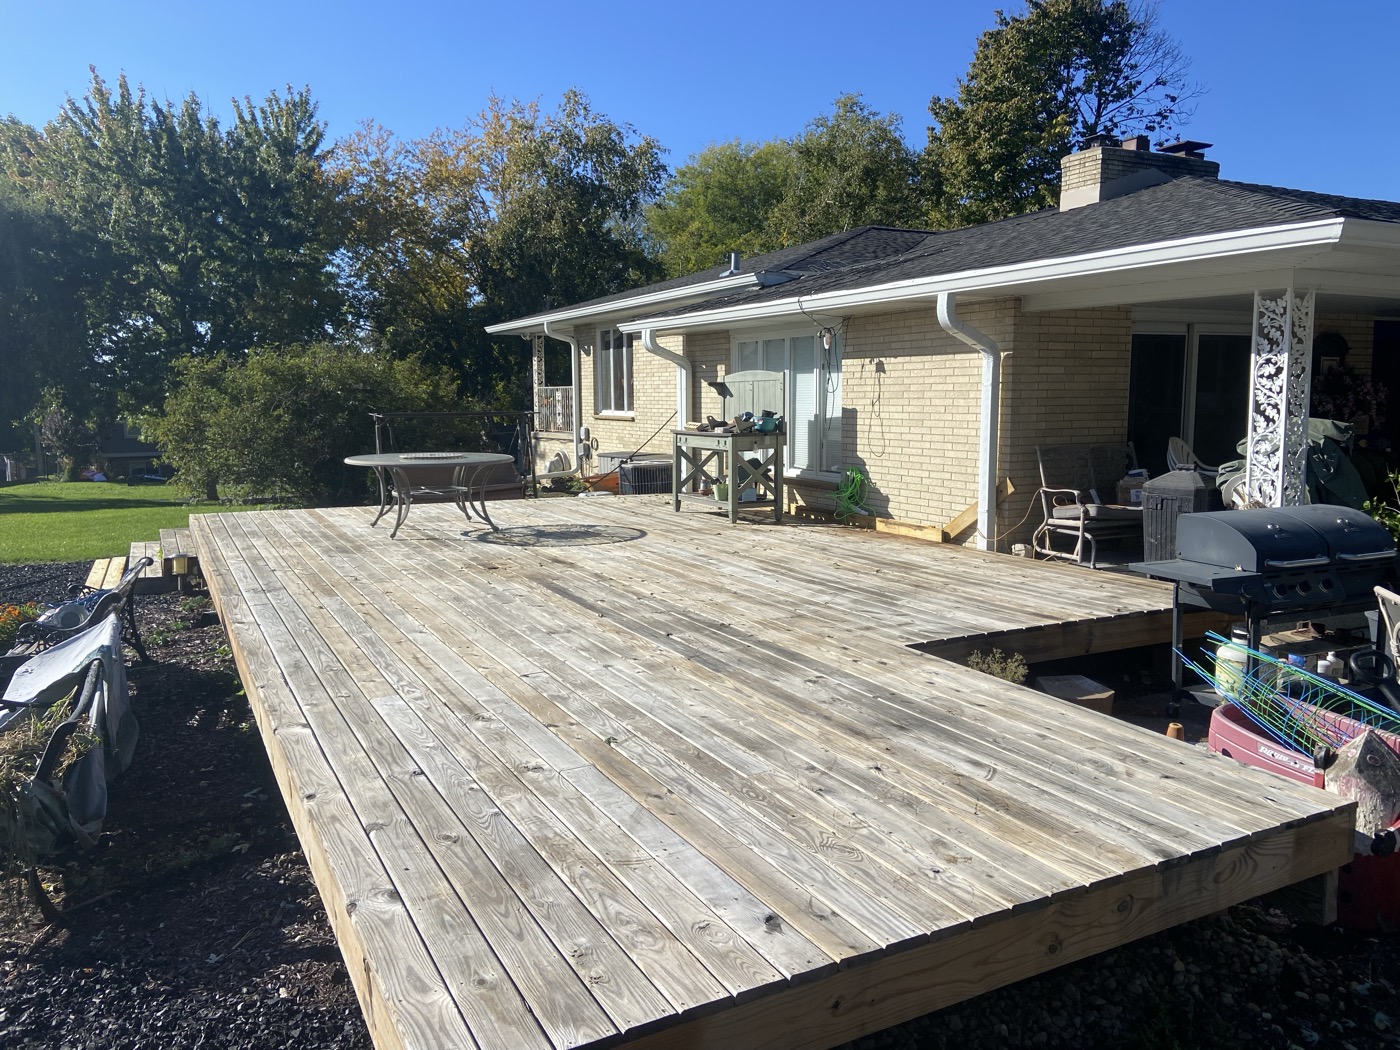 Before
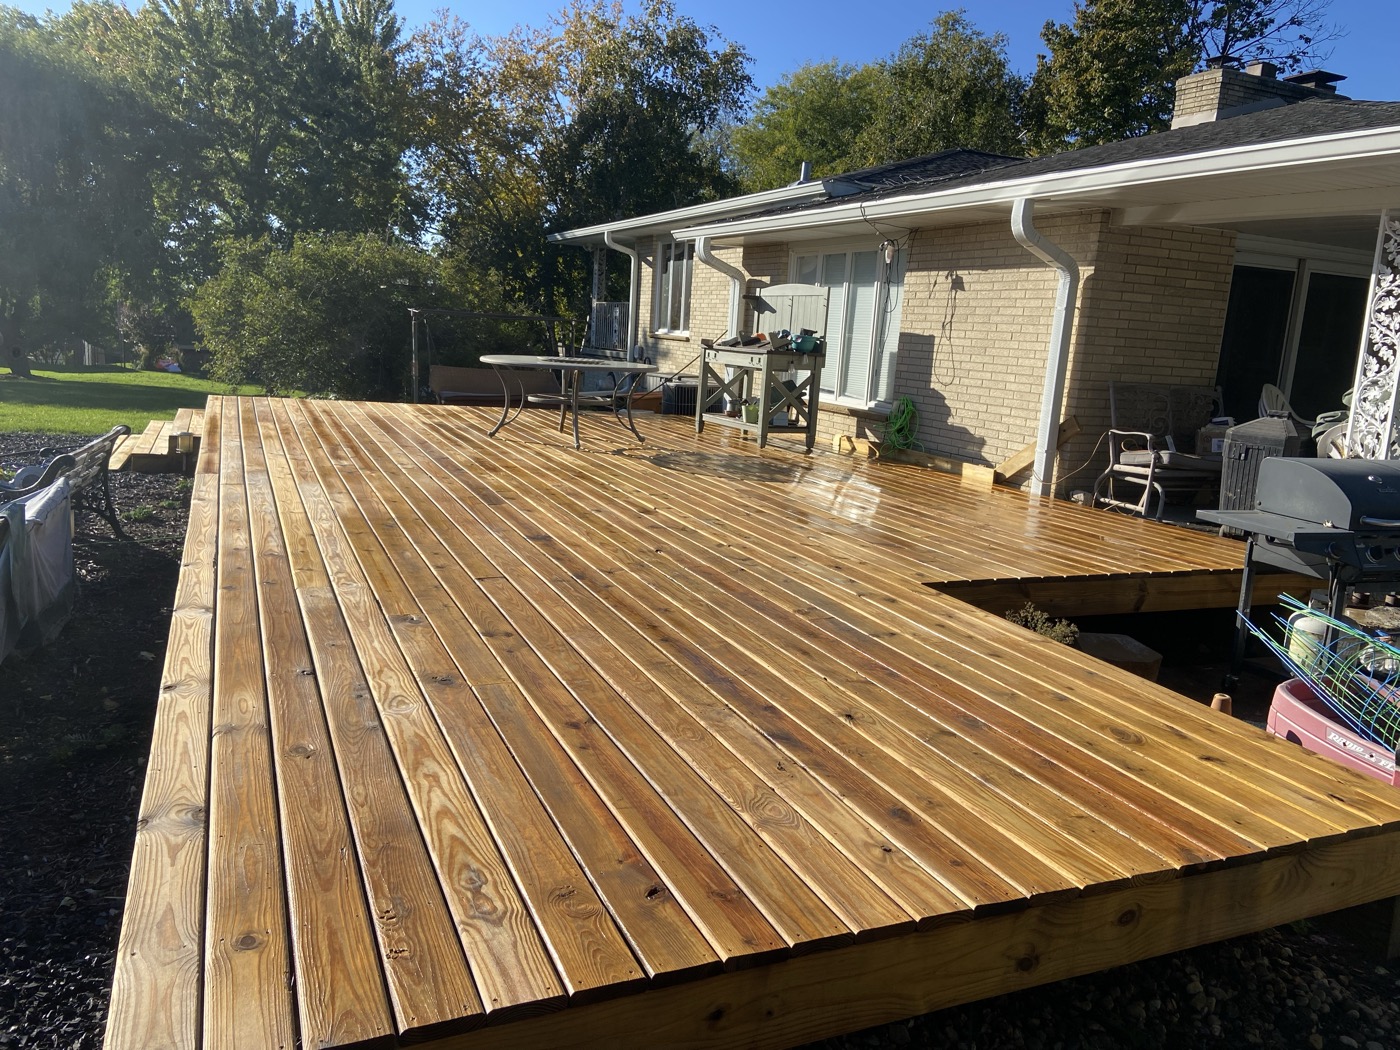 After
After
When to Sand After Cleaning
After the deck dries, a light sanding with 80-grit paper opens the wood grain further and removes any raised fibers left from pressure washing. For moderately to heavily weathered decks, sanding is highly recommended — it makes a visible difference in how evenly the stain penetrates and how smooth the final finish looks.
Sand the floor surface and top rails. Skip the spindles.
The Results
A properly cleaned and brightened deck doesn't just look better — it accepts stain dramatically more effectively. The stain penetrates deeper into open wood pores, bonds more completely, and lasts significantly longer. This is why two decks stained with the same product can look completely different five years later: one was prepped, one wasn't.
We Handle the Whole Process
Chemical cleaning, brightening, sanding, and staining — done right, the first time. Serving Milwaukee and all Milwaukee Metro suburbs.
Get a Free Estimate